Provisioning
This command allows you to deploy your node and you will be able to choose the type of TEE technology. The first supported one is AWS Nitro Enclaves (we refer to it as "Nitro" for simplicity).
Node Provisioning with Nitro
- From the terminal run this command
pcli node provisioning
- You will be asked in which geographical area you want to deploy the node, type the number of the chosen area and press
Enter
- Now pcli will ask you the access keys and secret keys of the AWS users delegated to create and manage the node. The best practice is to create two separate users, but you might choose to create one for both operations.
- Insert AWS access key for the IAM user that creates the node, type it and press
Enter

- Now the secret key for the creation user is needed, type it and press
Enter

- Insert AWS access key for the IAM user that manage the node, type it and press
Enter

- Now the secret key for the operator user is needed, type it and press
Enter

- Provisioning has now started, it will take approximately 30 minutes. Please wait until the end of the automatic procedure.
- At the end of provisioning you will see something like this
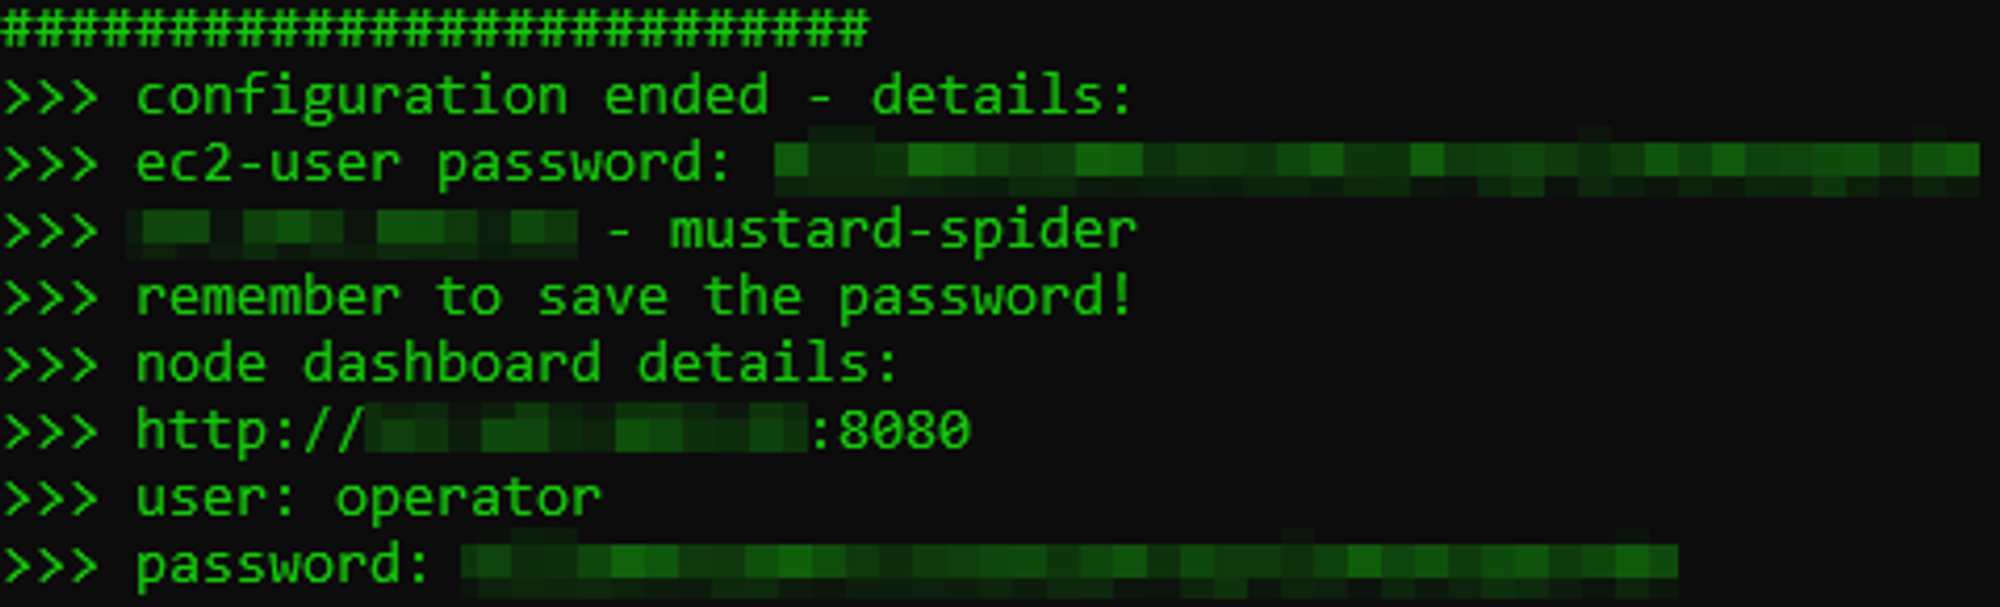
- In the final output you will find the generated password. It is needed to manage your node and connect to the dashboard so keep it safe.
The password is also saved in a file with the same name of the node.
- Congratulations! You have deployed your pNetwork node 😃
Registration on Ethereum
Requirements
A minimum of 200,000 PNT needs to be staked on Ethereum in order to register a node.
If you intend to stake via the Yolo Parrots NFTs, please stake and register your node via BSC
Please consider that a max cap of 400,000 PNT is applied per node, meaning that if the total value staked is above that limit, the node will accrue fees as if it was staking the cap value of 400,000 PNT.
Staking your assets on Ethereum
Please follow these intructions to stake on Ethereum.
Registration
Registration of the node is a mandatory step that enables node operators to both be rewarded for their contribution to the system and be slashed to disincentivise malicious behaviours (future use). The pNetwork node and the Ethereum address are required to have a 1:1 connection, so that each Ethereum address holding PNT is linked to one node.
To register a node, start with staking the required amount of PNT tokens within the pNetwork DAO using the Aragon interface.
Find the Aragon Staking Manager here.
Once the required amount of PNT are at stake, you can proceed with the registration of the node by using the comand
pcli node exec node-registration
You will be asked to enter the ethereum address used to stake PNT within the pNetwork DAO. You will be given a signature having the format 0x.....
Access the Aragon Node manager here, connect the wallet who has staked PNT within the DAO.
Click on "Node registration", paste the signature obtained above and confirm. Once the transaction has been successfully confirmed your node will be registered and be effectively part of the pNetwork.
If you encounter problems with loading the pNetwork DAO on Aragon, please try to change the IPFS Gateway setting to "https://cloudflare-ipfs.com".Go to Global preferences on Top Right, select Network, edit the IPFS Gateway field and save changes.
Registration on BSC
Requirements
A minimum of 200,000 PNT or 10 Yolo Parrots NFTs or a mix of both has to be staked in order to register a node.Please consider that a max cap of 400,000 PNT is applied per node, meaning that if the total value staked is above that limit, the node will accrue fees as if it was staking the cap value of 400,000 PNT. Recall that each Yolo Parrots NFT accounts for 400 PNT.For example, a node staking 10 Yolo Parrots NFTS and 398,000 PNT (equivalent to a node staking 402,000 PNT) will be rewarded as for 400,000 PNT.
Staking your assets on BSC
Stake the required amount of PNT or Yolo Parrots NFTs by transfering the assets from your wallet to the Node Manager contract's address 0x54e6dd7902bea05c8565cE624011eA6cE2A8D474.
DO NOT transfer PNTs or Yolo Parrots NFTs straight from an exchange (e.g. Binance,...) to the node manager contract. Please withdraw them to a personal address of yours first.
Your assets can be withdrawn later at any moment by executing the function
withdraw from the same contract here.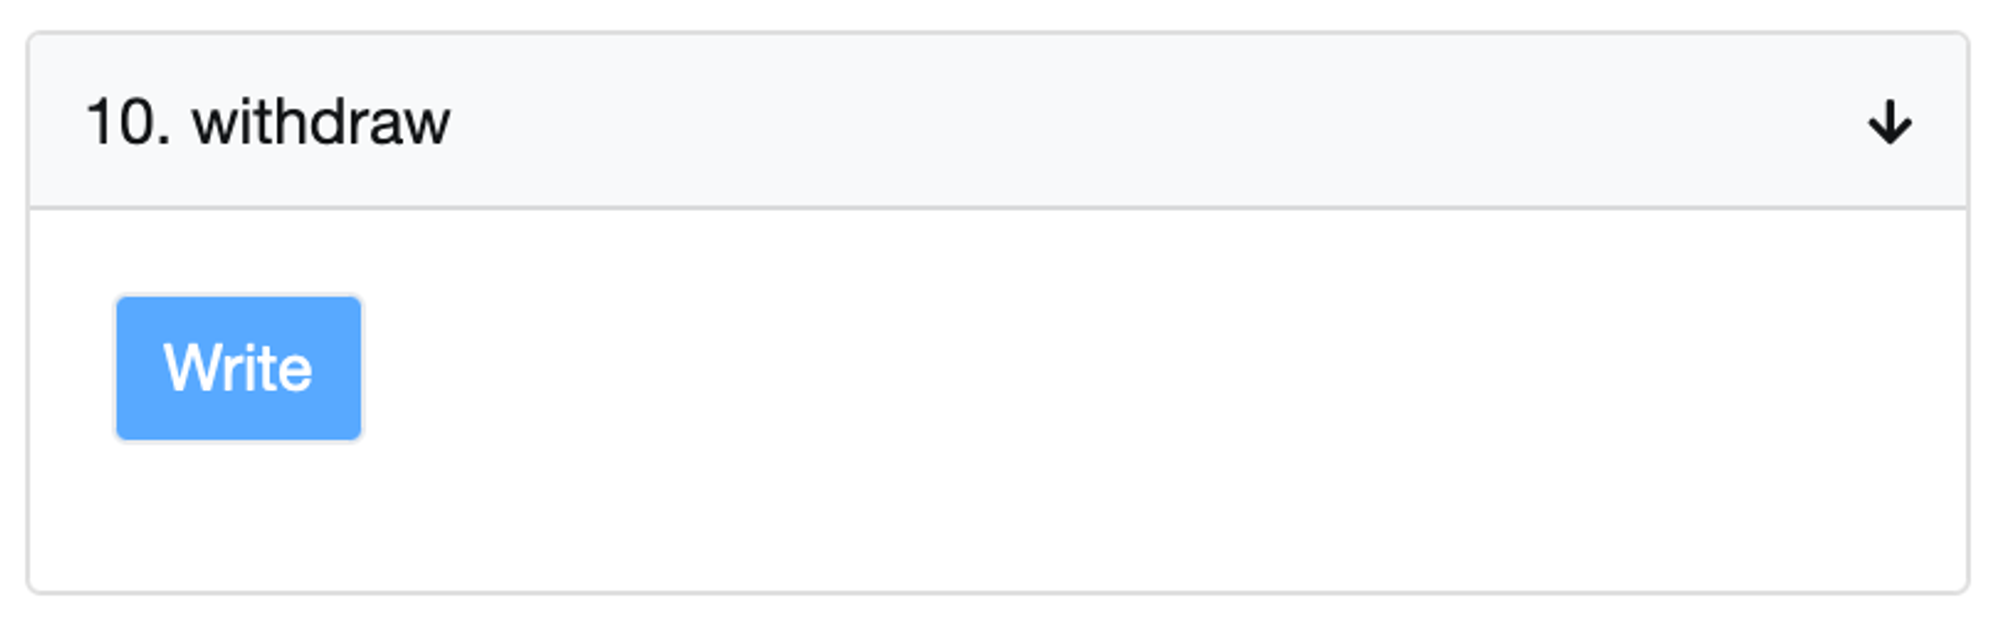
Registration
Once the required amount of PNT or Yolo Parrots NFTs is at stake, you can proceed with the node's registration by running the following command on a terminal
pcli node exec node-registration
You will be asked to enter the address used to stake your assets and you will receive a signature in the following format:
0x...Then access the Node manager contract here and connect the wallet where you previously sent your assets.
Execute the function
updateRegistration using the signature received at the previous step as input, then click on the "Write" button and confirm the operation through your wallet interface.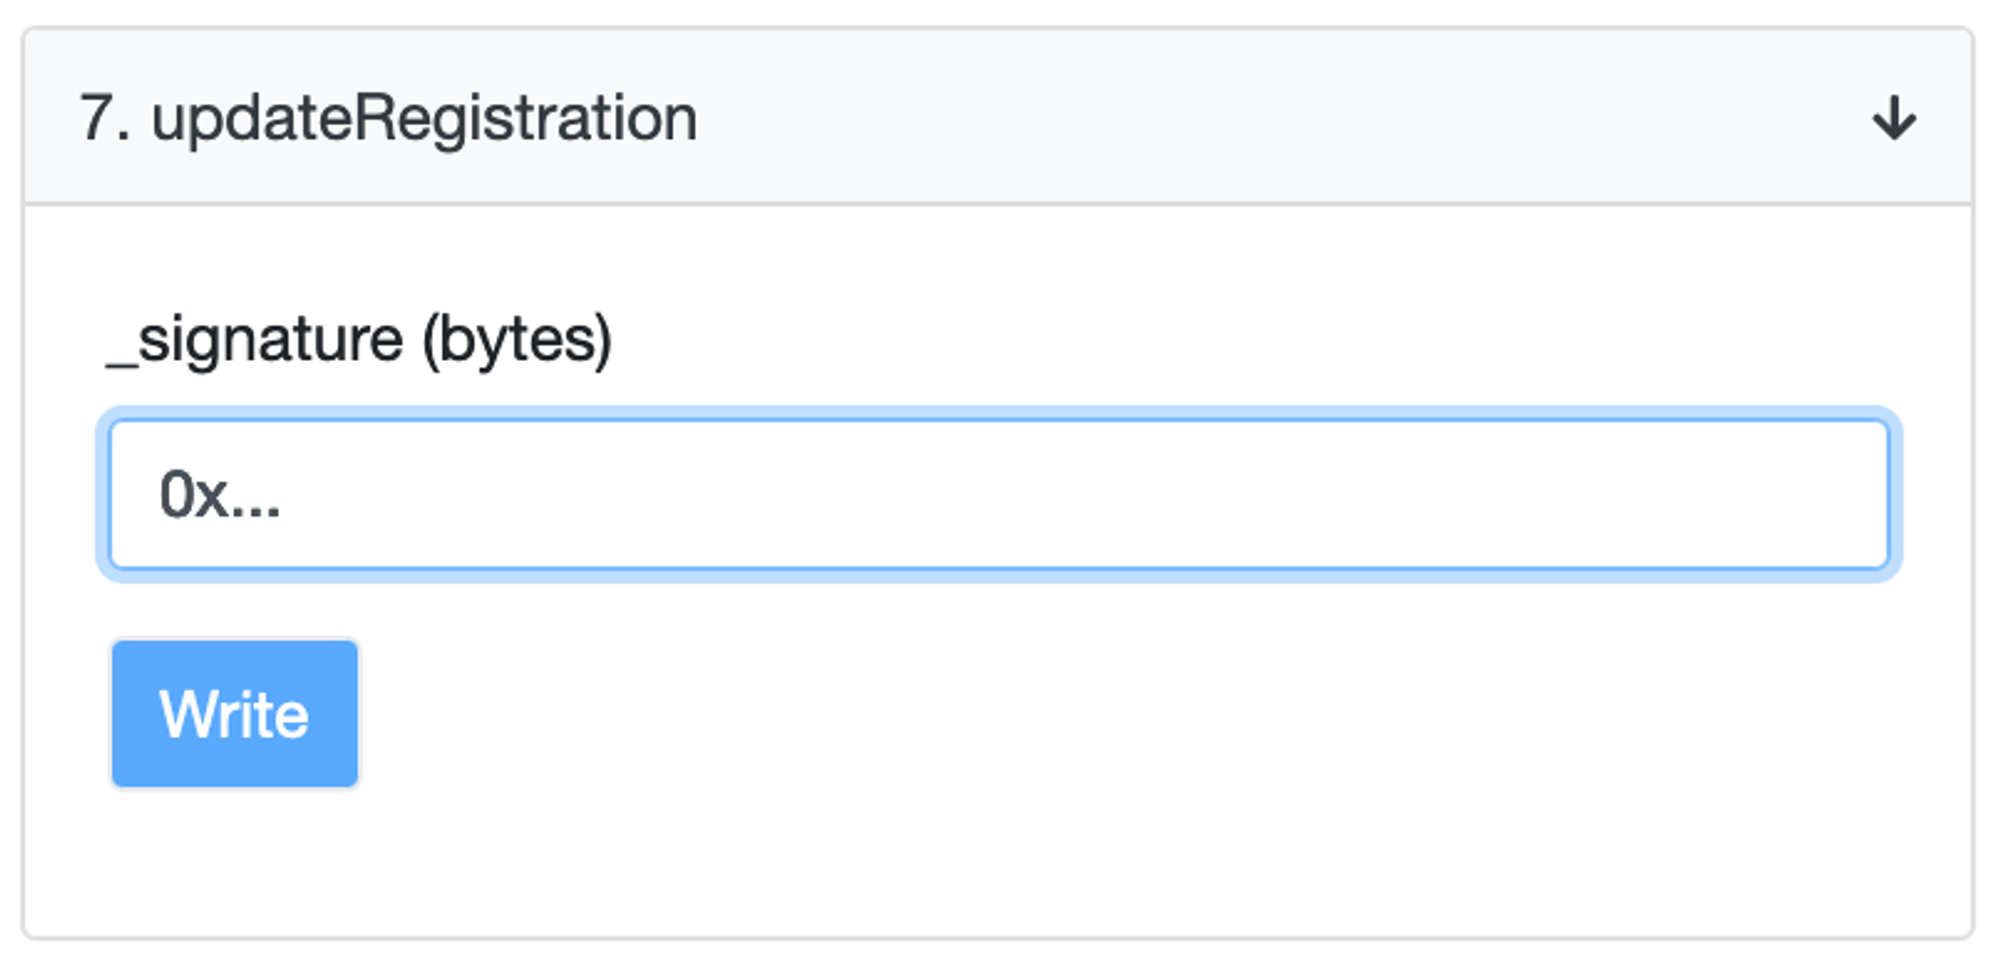
Once the transaction is successfully confirmed, your node will be registered and be effectively part of the pNetwork.
If you intend to stake more assets after the registration, you just need to send them to the Node manager contract, i.e. no need to call
updateRegistration again.This document provides instructions for setting up a pNetwork node, including node provisioning with AWS Nitro Enclaves and registration on either Ethereum or BSC. The document includes detailed steps for each process, including screenshots and code snippets.